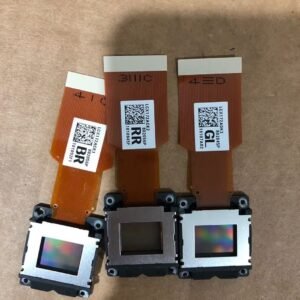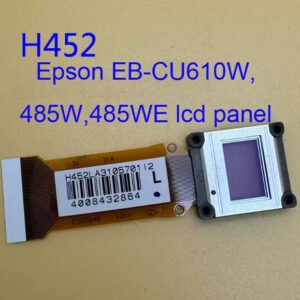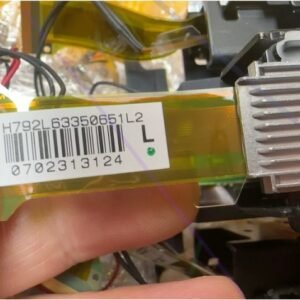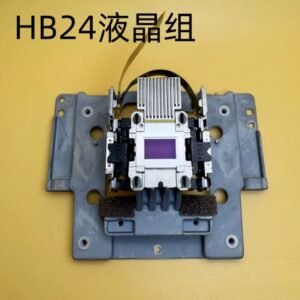
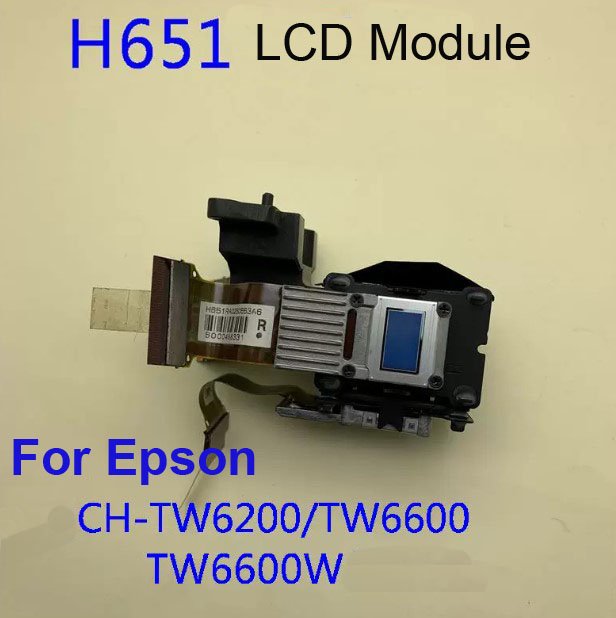
Epson H651 LCD Module For Epson CH‑TW6200 / TW6600 / TW6600W / HC3000 Projectors
Full LCD block – no alignment required. This is a genuine Epson complete LCD assembly (part H651) for CH‑TW6200, TW6600, TW6600W and HC3000 projectors. Unlike single LCD panels, this assembly includes all three LCD panels (red, green, blue) pre‑mounted and factory‑aligned on a common optical base. Installation is mechanical. You do not need to adjust convergence, focus, or panel registration. Simply remove the old assembly and install this one.
The assembly is original Epson spare part. It is factory‑calibrated, so after replacement you get perfect colour alignment. This is the correct repair path for failed polarisers, burnt LCD panels, or optical block damage – without the complexity of individual panel alignment.
| Compatible Models | Epson CH‑TW6200, CH‑TW6600, CH‑TW6600W, Epson HC3000 (Home Cinema 3000)\(parts compatible with certain other 3LCD models – check your original assembly number) |
|---|---|
| Part Number | H651 (complete LCD block / optical engine sub‑assembly) |
| Condition | Brand New – 100% Original Epson Spare Part |
| Included | Complete LCD assembly (3 panels on pre‑aligned optical block). No individual polarisers or loose panels. |
| Installation | Direct mechanical replacement – mounting screws and flex cable positions match original. No convergence or focus adjustment needed. |
| Skill Level | Intermediate/Advanced (optical block access required, but no panel‑level alignment). |
Why choose the full LCD assembly (H651)
Replacing a single LCD panel on classic Epson 3LCD projectors requires hours of delicate convergence work. The H651 assembly eliminates that. You swap the whole pre‑aligned block – all three panels are already matched and focused. This saves time and guarantees a factory‑correct image. If your projector has colour fade, severe polariser degradation, or burnt panels, this assembly is the correct long‑term fix.
Signs you need this LCD assembly
- Severe colour fade or yellow/brown tint – the red panel or polarisers have degraded.
- Blank or dark image – one colour channel is completely missing (failed LCD or polariser).
- Mura / uneven brightness – blotchy or non‑uniform colour across the screen.
- Physical damage – burnt or cracked panel visible inside the optical block.
Installation notes
The assembly is a direct mechanical fit. You will need to open the projector, remove the optical block, and swap the old LCD block for this one. Dust management is still important, but because the assembly is pre‑sealed, there is no need to touch individual panel alignment. The flex cables attach exactly as the original. If you can replace an optical block, you can install this assembly.
Tip: Work in a clean, low‑dust area. Take photos of the original cable routing before removal. No test patterns or convergence tools are required.