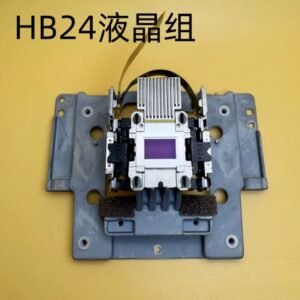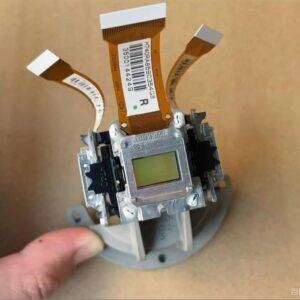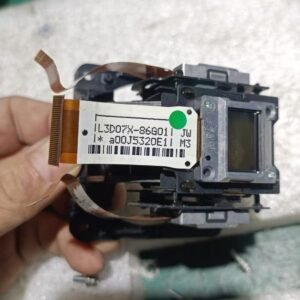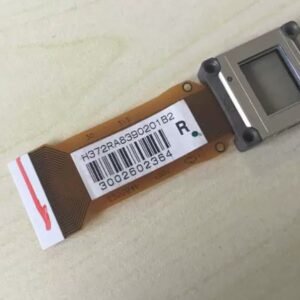

Original Epson EH‑TW9000 LCD Panel – H398L (Single Panel, Not LCD Block)
Advanced repair – convergence adjustment required. This is a genuine Epson single LCD panel (part H398L) for the EH‑TW9000 home cinema projector. This panel is not a pre‑aligned LCD block. Replacing a single panel means you will have to manually adjust convergence (panel alignment) after installation. If you are not experienced with 3LCD optical block repairs, we strongly recommend using a professional repair shop.
The panel is brand new, original Epson spare stock. It is not a refurbished or pulled part. However, because 3LCD projectors use three separate panels (red, green, blue), replacing only one panel destroys the factory convergence. You will need to mechanically align this new panel with the two existing ones until all colours overlap perfectly on screen.
| Compatible Model | Epson EH‑TW9000 (1080p 3LCD home cinema projector) |
|---|---|
| Part Number | H398L (individual LCD panel – not the full LCD block) |
| Condition | Brand New – 100% Original Epson Spare Part |
| Included Items | Single LCD panel only. No polarisers, no housing, no pre‑alignment. |
| Installation Requirement | Manual convergence (mechanical panel alignment) is mandatory after replacement. No software calibration can fix misaligned panels. |
| Skill Level | Advanced – optical block disassembly + test pattern alignment required. |
| Note | H398L is the individual panel part number. For any of this generation (TW9000/TW9000W), you will need to confirm which colour channel you are replacing (red, green, or blue). All channels use the same physical panel. |
Why convergence adjustment is mandatory
Epson 3LCD projectors split light into three separate colour channels. Each channel has its own LCD panel. The factory aligns all three panels to sub‑pixel precision. When you replace a single panel, the new panel will not have the same physical position as the old one. You must enter service mode (or use external test patterns) and mechanically adjust the panel until red, green and blue images overlap perfectly. Without proper alignment, you will see coloured shadows, ghosts, and blurred text – particularly visible on 1080p home cinema content.
Signs you need this H398L LCD panel
- Dead or stuck pixels – permanent black or white dots that do not clean off.
- Dark vertical or horizontal streaks – a specific colour channel has scanning failure.
- Burnt or browned panel – visible damage on the panel surface after opening.
- Missing colour channel – the whole image has a red, green or blue cast because that LCD panel has failed.
- Delaminated polariser – cloudy or peeling film on the panel (often looks like “burn”).
What you need before buying
This is not a plug‑and‑play part. You will need:
- Experience opening Epson 3LCD optical blocks.
- Test pattern generator (or a laptop with grid/cross‑hatch patterns).
- Access to the projector’s convergence adjustment mode (service menu or panel shift screws).
- A dust‑free workspace – dust trapped on the panel will show as black spots.
No refunds will be given for failed alignment or dust contamination. If you are not 100% sure about the process, send the projector to an Epson service centre. This panel is sold as a spare part for experienced technicians only.
Restore your EH‑TW9000 to factory optical quality
The EH‑TW9000 is a high‑end 1080p home cinema model. When installed and aligned correctly, this H398L panel restores full colour accuracy and sharpness. But only buy this if you understand the alignment process. If you do, this OEM panel gives your Epson a second life without replacing the whole optical engine.
Tip: Mark the orientation of the old panel and the adjustment screws before removal. Use a white cross‑hatch pattern and a magnifying lamp for fine convergence. Work extremely clean.